
It's been a whirlwind few weeks filled with birthdays, school/preschool activities, gardening, boating and play dates. Because we've been busy with all sorts of family adventures, my blog has been pretty neglected. By the time I've stolen a moment to myself, I'm usually either trying to squeeze in some yoga practice or just lying on my bed trying not to fall asleep for days.

I've completed a bunch of projects around the house, and I wanted to share one of my very favorites. I love a good trash to treasure story, so when my sweet neighbor, J., stopped over with a decrepit plant stand she rescued while walking her dog, I knew this was a perfect opportunity to flex my developing DIY skills.

I was a little nervous about the amount of rust on the top of the plant stand.
After thinking about it for awhile, I realized that it would be the perfect canvas for mosaic tiles.
More on that later!

You can see that the base of the stand and all of the intricate metalwork was in pretty rough shape.

I ended up using a sanding block like the one below to smooth out the surfaces.
Here's the one I used:
I used an angled block to help me really get into the stand's crevices.

When all of the debris was removed and the surfaces were as smooth as I was going to get them, I gave the stand two even coats of Krylon gloss in black.
.jpg)
Here's what I used:
Next my sweet Catfish and I laid out all of the tiles we were going to use.
I went with two different shades of blue to play off of the royal blue of my front door.

I found mine at Hobby Lobby along with ten other things I didn't plan to buy, but you can find similar tiles here:
Here's my sweet girl helping me glue down the tiles using a cordless glue gun.

I used black grout, also from HL for this project.
In retrospect I should've patched the little rust holes with glue BEFORE grouting to avoid drips...
Live and learn...

Here's the grout I used:
The Catfish and I took turns spreading the grout evenly over the tiles with a putty knife.
The Catfish and I took turns spreading the grout evenly over the tiles with a putty knife.

Here's a similar one:
After giving the grout about an hour to dry, I began the tedious task of scraping each tile.
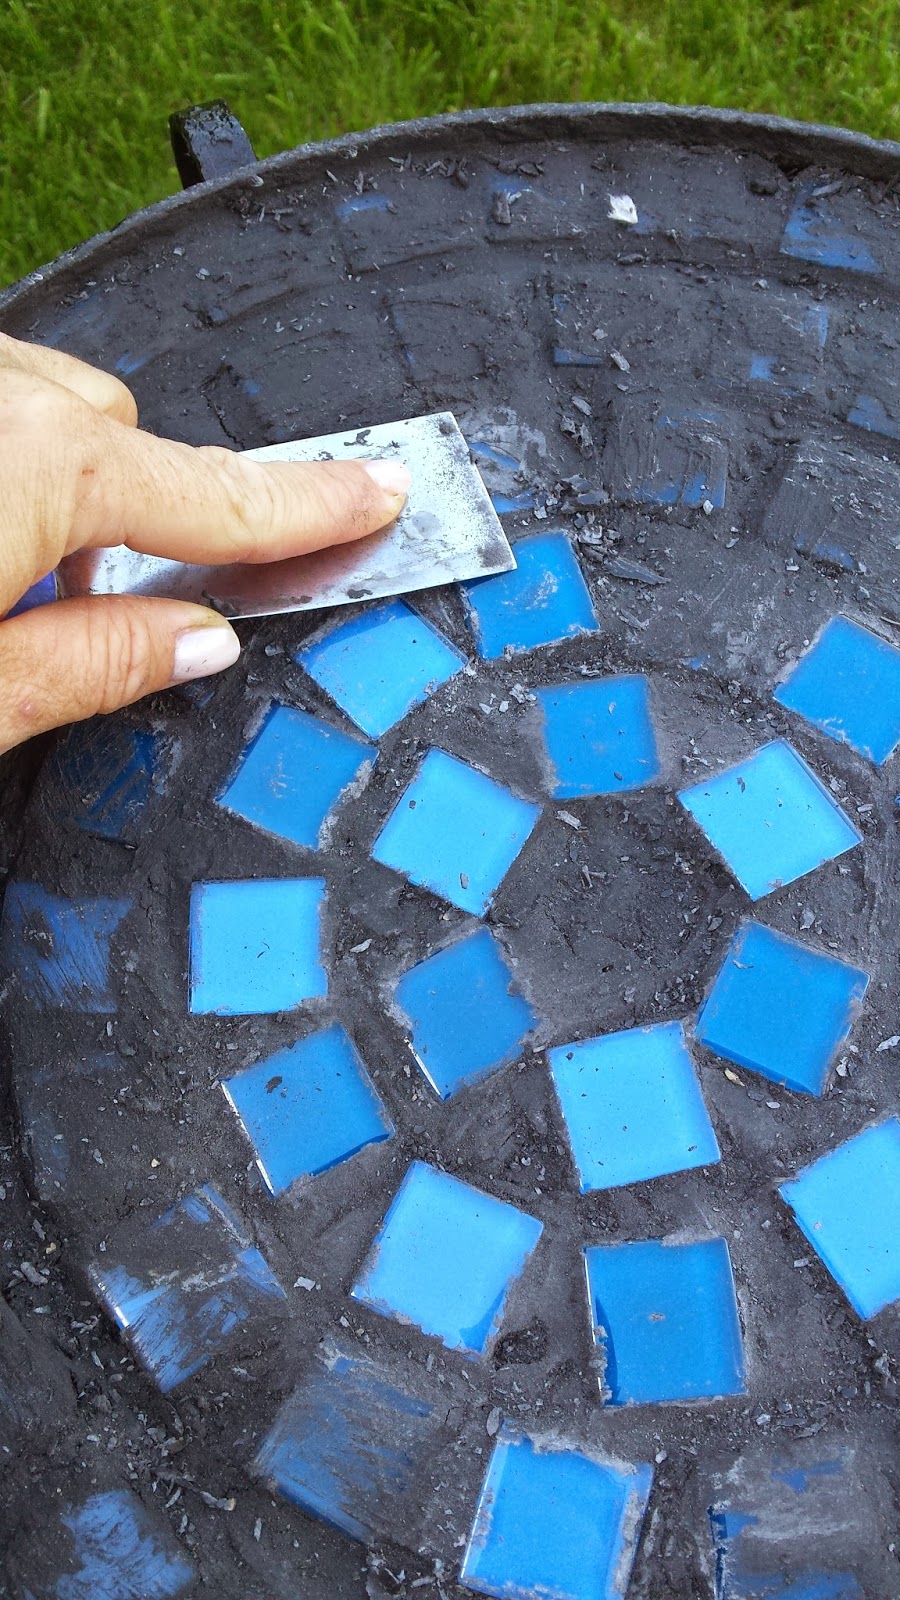
Luckily I had a great helper!
It was a lengthy process, but so worth the extra time.

To bring out the shine on the tiles, I wiped the top down with a paper towel saturated with veggie oil.
Here's the final product!

For summer, I've got a pretty fern resting on top of the stand.
I'm thinking of bringing the stand and plant into the house for the colder months or maybe even using the stand indoors in another way when it's not on the front porch.

Since I used spray paint I already had, I really only spent about $15 altogether on materials.
Not too shabby!
I love that you can see the blue tiles when you're standing at the front door, and I think the style of the stand showcases the fern beautifully.
I'm definitely happy with how this one turned out in the end!
Happy Weekend, friends!

It's lovely Alison! You've inspired me to start looking for a stand by my front door!
ReplyDelete