
Picture me running like a crazy person through the Christmas tree farm with a 39 gallon bag gleefully collecting discarded clippings. Yup. It has never occurred to me before to ask for clippings at our local tree farm, and the employees were more than happy for me to take extra clippings off of their hands! They even wrapped quite a few of the larger clippings in with our tree at no additional charge!
I have added fresh clippings to nearly all of the garland in my house, and it has made an incredible difference in the look and smell of my holiday decor. Because I went a little overboard with my clipping scavenging this year, I had more than enough leftover to make these fun little swags to hand under my carriage lights. It was a quick, easy and very inexpensive project, and I will definitely be making these again next holiday season!

What you'll need to make two swags:
a variety of tree clippings, roughly 12-18" (I used two different clippings)
floral wire
two bows
two wire coat hangers
six small weather resistant round ornaments (or small pinecones)
any other fun little weatherproof decorations to add at the end
six twigs, spray painted with Krylon ColorMaster (I used gold, but you can easily do red, silver or any other color)
clippers


It is also helpful to have a small, sassy helper, ha!

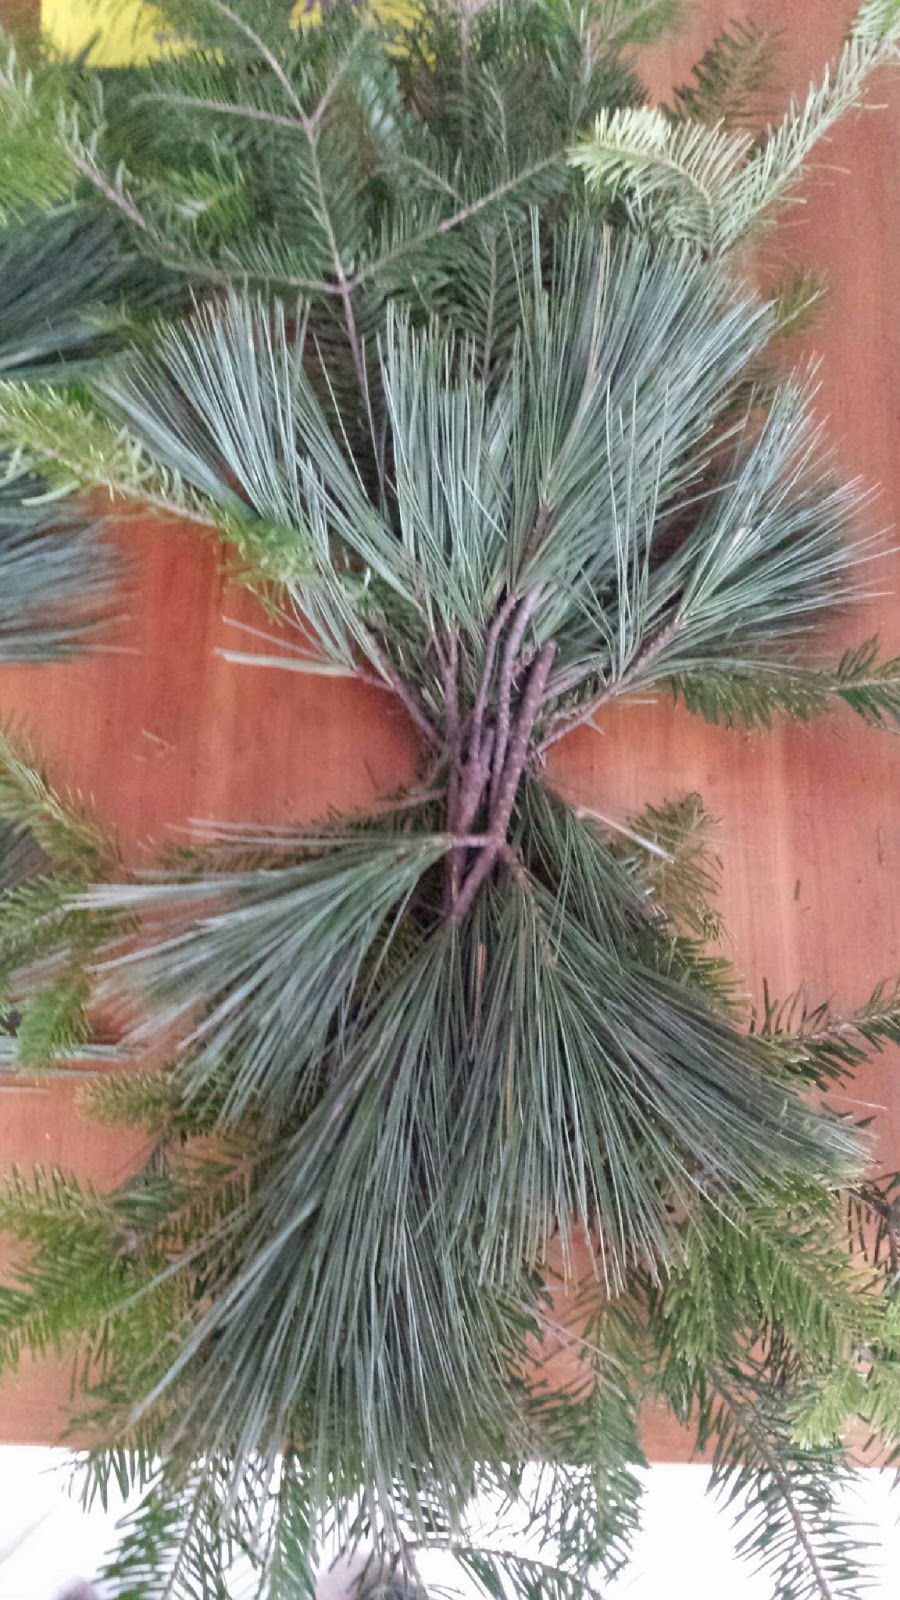
Gather your first set of clippings in a bunch, stems pointing downward. Gather a smaller set of the same type of clipping pointing in the opposite direction. When you're satisfied with the fullness, add your second variety of clipping. Secure with floral wire.
Use floral wire to attach your bows, twigs and ornaments, sticking your twigs behind the bow to secure them. The Catfish and I had a great time scouring our yard for the perfect twigs. Two quick coats of spray paint and the twigs along with a small section of grass in my backyard were a beautiful gold color!

Stretch your hanger lengthwise, then place your swag on top and secure with floral wire.

You're now ready to hang your swag anywhere you'd like! You can also adjust for a horizontal placement by making each bunch of clippings an equal length and securing your bow horizontally.

These two swags should last outdoors throughout the season! Because I already had the floral wire and small ornaments, the cost for this project was a whopping $6 (I've found that Walmart has the best pricing on spray paint, coming in at $3.47. The bows were from Michaels at $1.99 ea. minus 50% and an extra 20% off all sale)!
Since this was my first attempt, I went with a pretty basic design, but I'm hoping to up the ante a little bit next year and add more color and texture.
Happy Holidays!

No comments:
Post a Comment